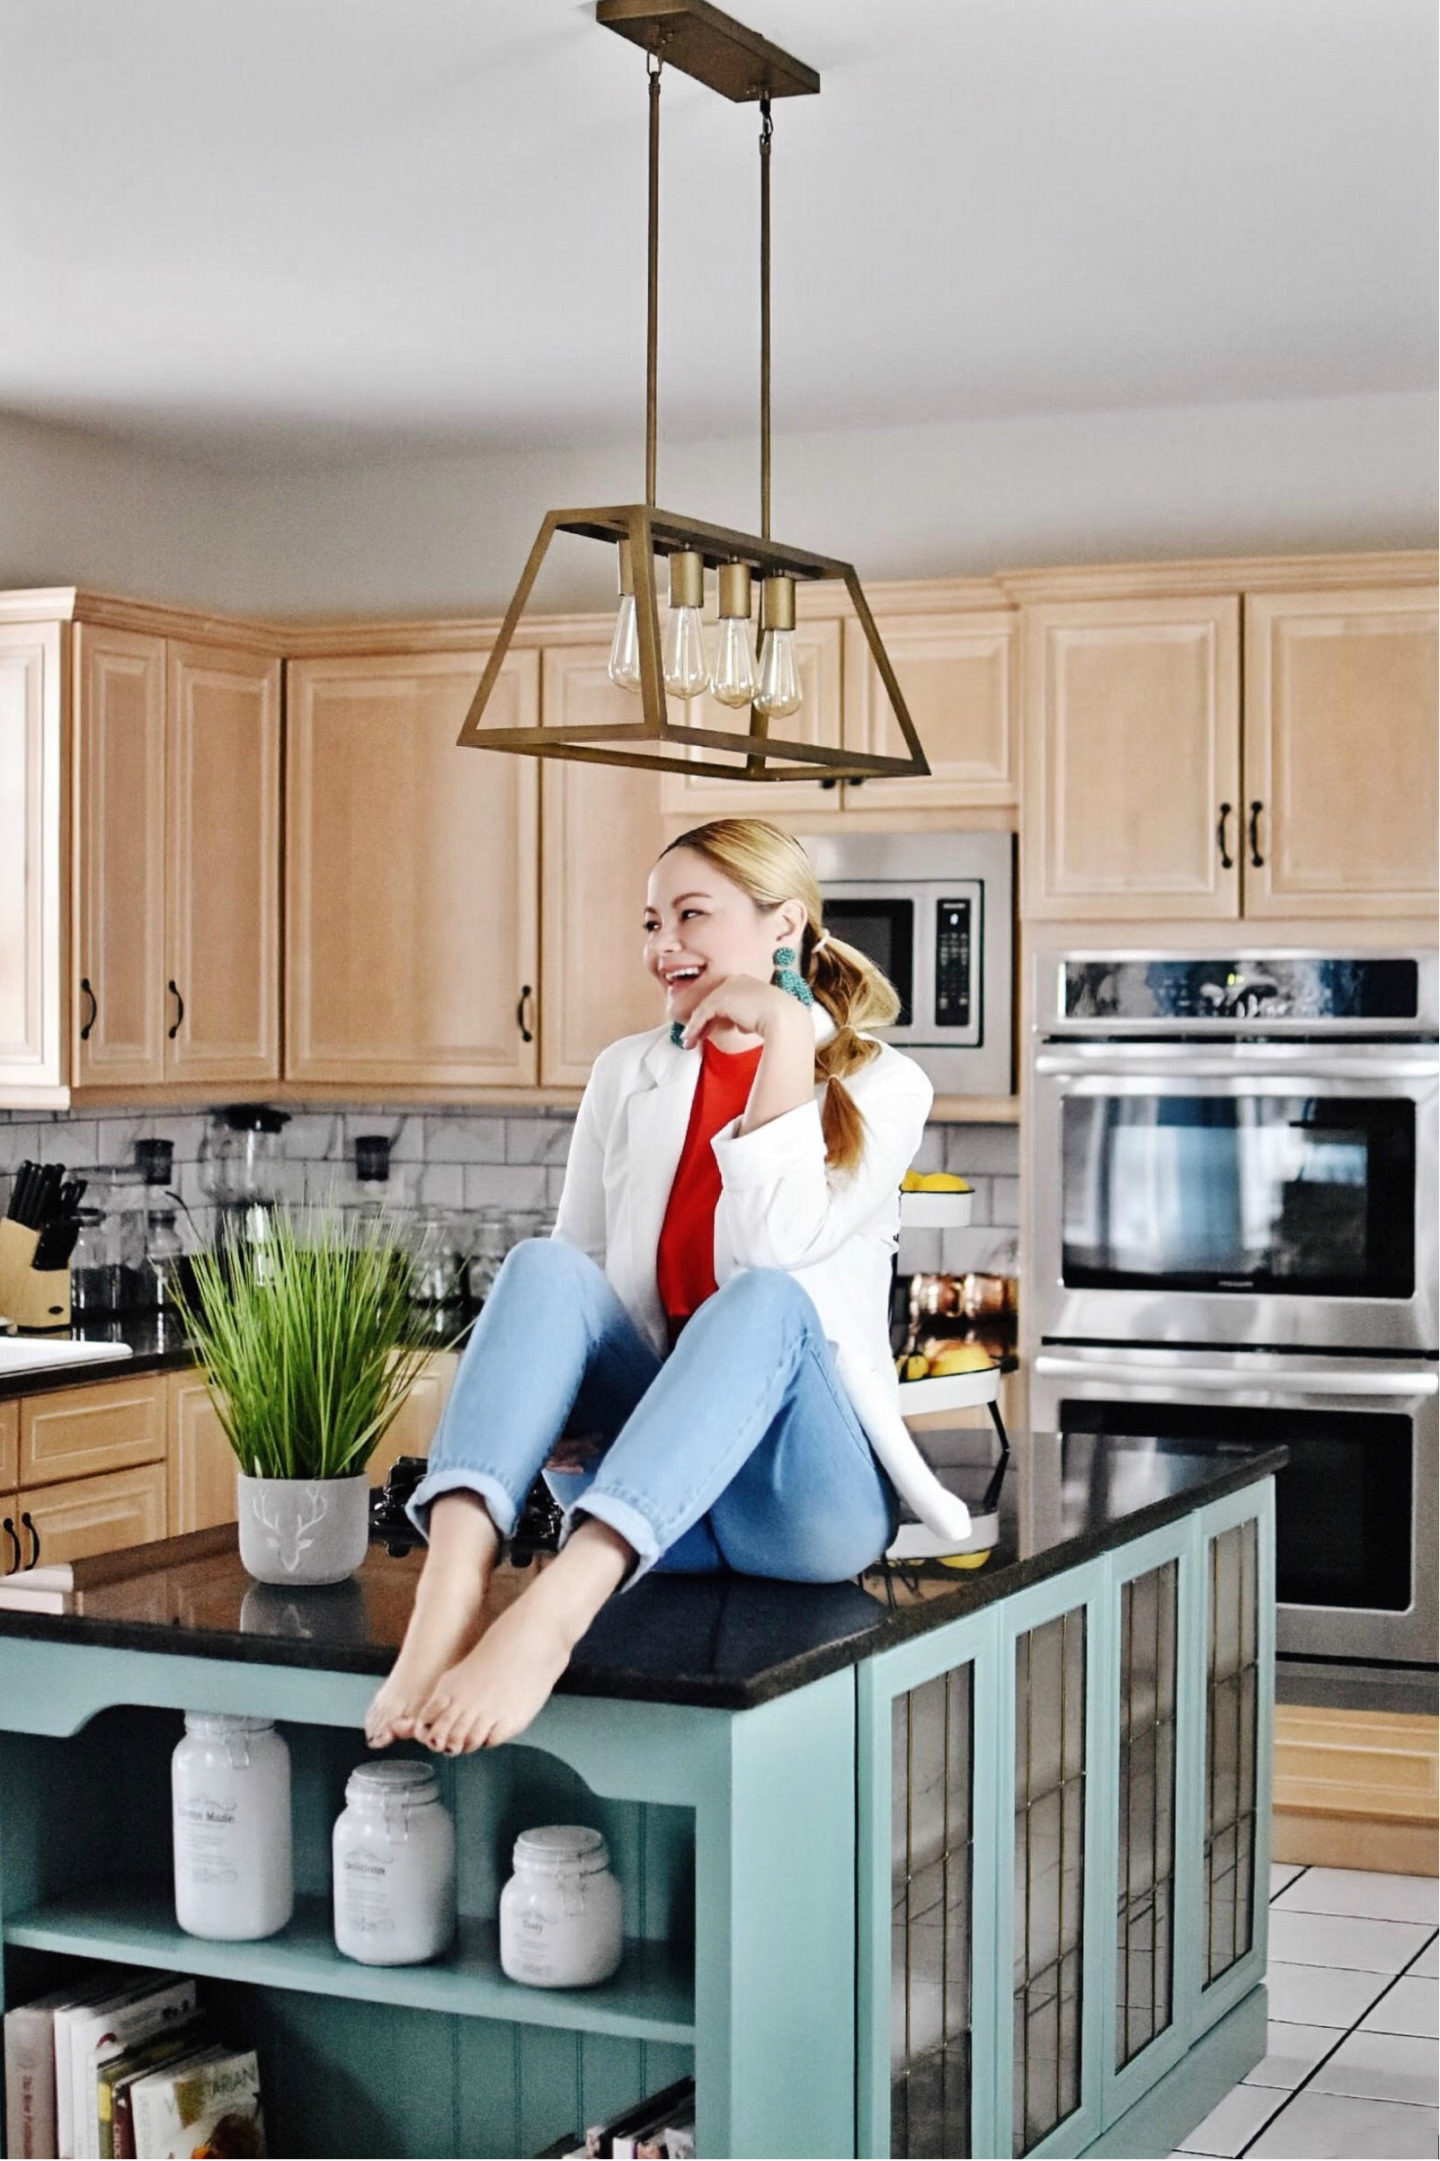
Since we bought our new home a little over 1 year ago my inner interior designer came out, making my home makeover simple and fun. We have done quite a few improvements/makeovers—but our current project is probably my favorite. Our kitchen.
Our kitchen
The heart of our home, we knew it needed an upgrade. So, I decided to tackle this project without having to spend a lot of money. I have watched quite a few YouTube videos on how to paint kitchen cabinets and once I was done watching I was convinced! It was the perfect DIY solution! New types of water-based cabinet paint like acrylic alkyds and acrylic urethanes have made it much easier to get a durable, professional-looking job. These finishes can be cleaned up with water and don’t make your house smell like a chemical factory. And quality tools like mini rollers and good consumer-grade sprayers allow even beginners, like me, to get pro results.
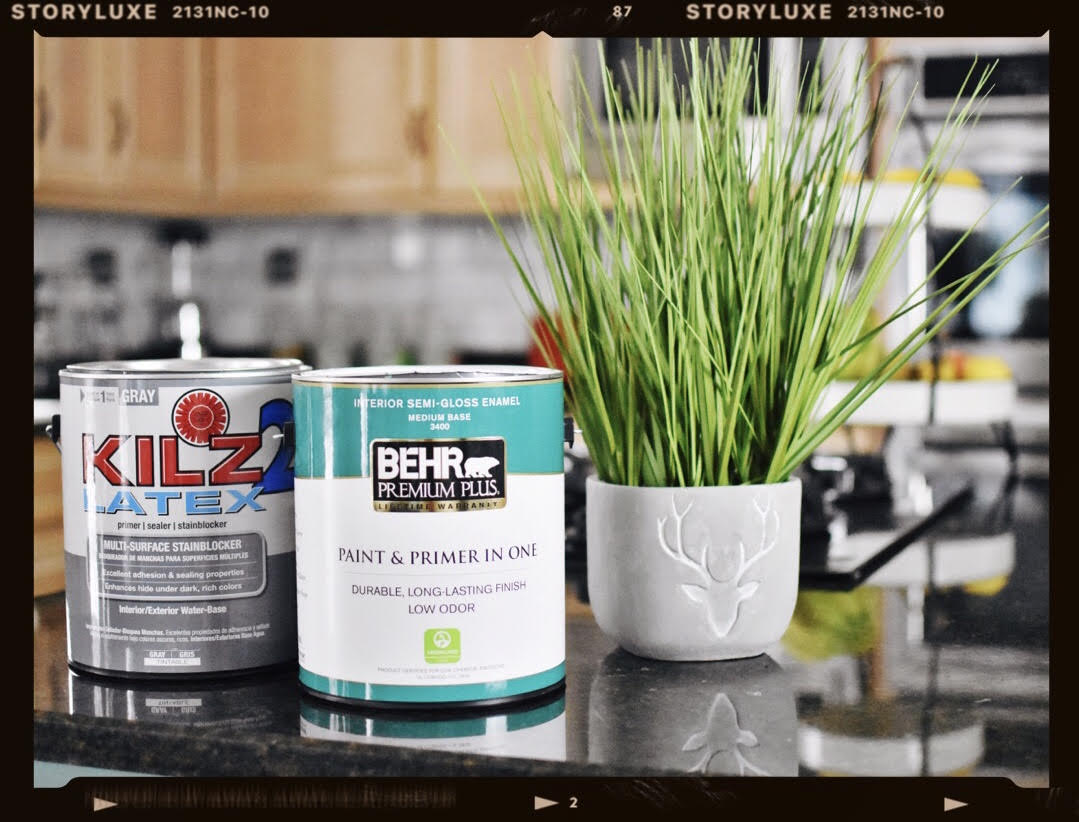
I started with our kitchen island first. I knew that I wanted our island be our “statement piece”. For a pop of color, my husband and I decided to go with the color sage. I went to Home Depot, got my primer and sage color paint, as well as brushes, etc.
STEP 1
Take off all cabinet doors and drawers.
STEP 2
Clean all surfaces with TSP cleaner to remove any grease and dirt. Cover your countertops, appliances and other areas you want to protect. NOTE: I placed painter’s tape on the wall along the cabinet edges.
STEP 3
Prime kitchen cabinets. It’s important to use even strokes and finish back into the wet primer. NOTE: I used a mini roller on large, flat areas. Also, the primer doesn’t have to look perfect. Its purpose is to solely cover the surface and provide a good base for the finish paint.
STEP 4
Paint the doors and drawers. I started with the backside and applied a smooth even coat. When its dry, I flipped the door over and painted the front.
STEP 5
Paint cabinet frames. I used a brush to paint the frames. Also, please note that you need to apply to coats of paint.
STEP 6
Once everything has been painted (my island took about 4 hrs) it’s time to reassemble the cabinets and hardware.
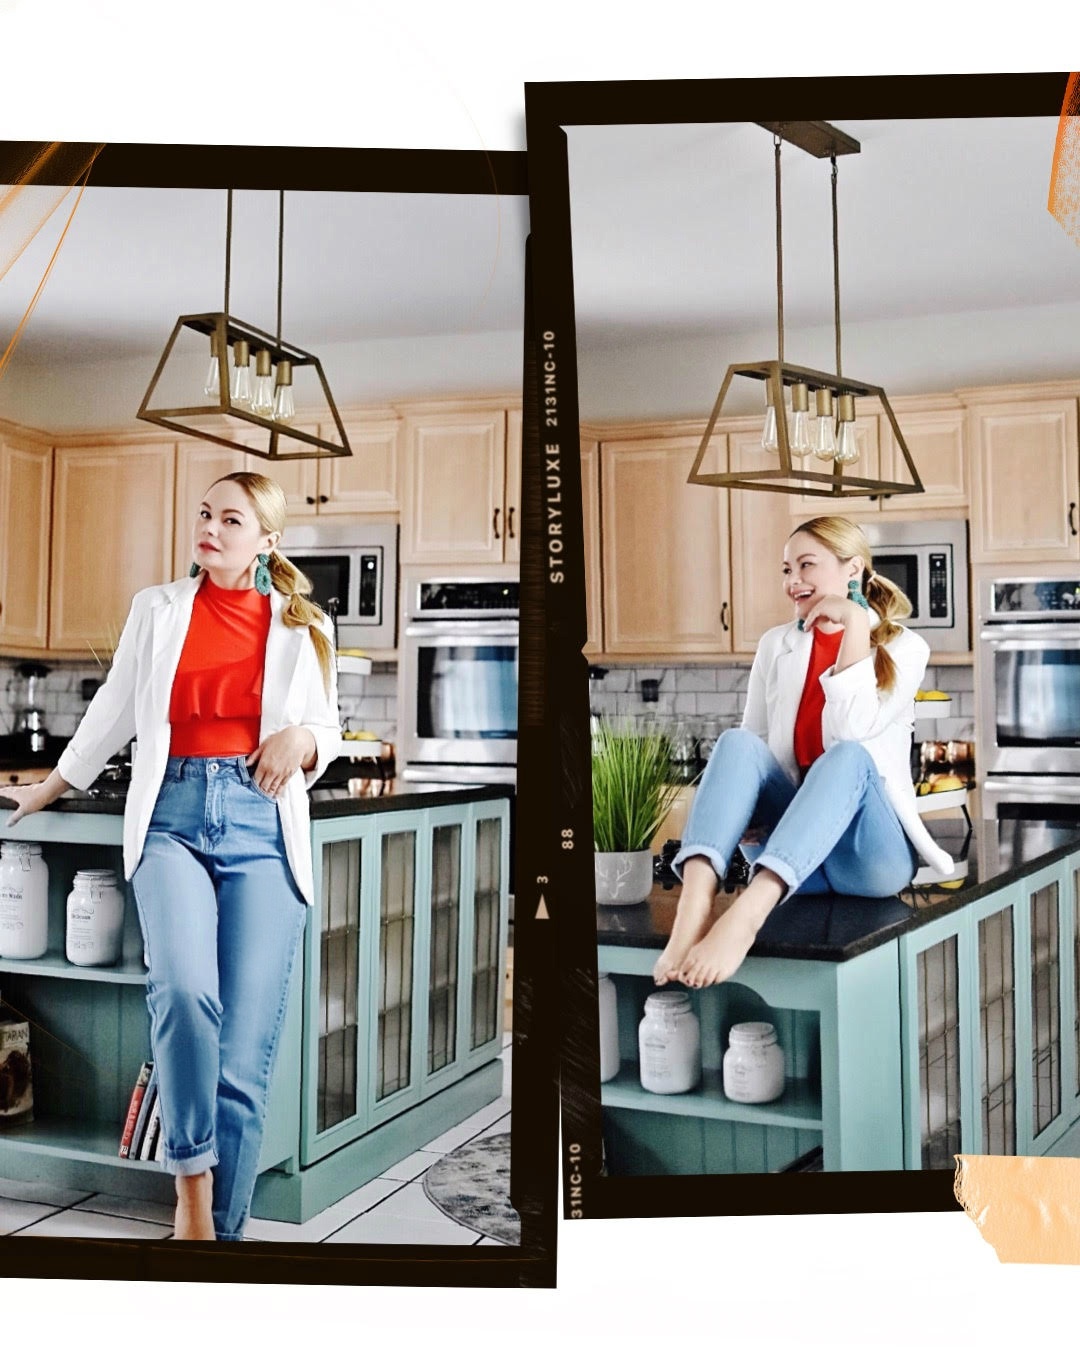
Final result
We absolutely love how our kitchen island turned out. So much, in fact, that my husband and I decided to paint our entire kitchen in a light grey color…so stay tuned for the full kitchen makeover reveal!
SHOP THE POST


Wow you did a great job Vanessa! Love the colour of the island. It definitely pops haha
Mich x
http://michjoseph.com
Nice kitchen!
Kisses
http://www.atrendylifestyle.com/
I love this color of your island! It’s so soothing. Thanks for sharing Vanessa!
https://www.kathrineeldridge.com
You did such a great job Vanessa!
Jennifer
Effortlessly Sophisticated
You are a very talented woman. You did amazing job…Love the new color of the island kitchen..
Loving your kitchen!!
xx- Nina
http://www.stylingwithnina.com/2019/03/must-have-snake-print-booties.html
You guys did an amazing job! I love that pop of color, it just brightens everything and pulls it all together!
http://www.sundaydahlias.com
So nice🔝🔝🔝🔝🔝
Wow, it looks amazing!! I lover that color!
xx, Elise
http://www.sparkleandslippers.blogspot.com
Your kitchen looks great, awesome job! I love make-overs like this. 🙂
Marije | thegfguide.com
You did a lovely job! Love how you used Storyluxe for your pics! xo
It turned out so beautifully and now I am super excited to see the final reveal with the gray! You have so many talents, my sweet and beautiful friend!
Love your kitchen make over! It looks like a spread from an inner decor magazine. Kitchen is such an important place of our homes (and definitely so for our foodies) it is important to get it right. Great photos!
You look lovely too. The smile on your face says it all.
Looks great!
~Samantha
http://goldcoastgirlblog.com
wow you did an amazing job, love how you created your kitchen, the colour scheme is beautiful. Thanks for sharing to us.
xoxo Ashon
https://ashonfashionary.com/how-to-style-loungewear-this-spring/
You did an amazing job Vanessa. We are in the middle of upgrading our new house too and it’s such an exciting process. Have a lovely day, babe. xx
Nina’s Style Blog
What a great kitchen! And you look beautiful!
xx
http://www.recklessdiary.ru
You have such a perfect kitchen! Love the color of that paint so much! ❤
xx
Selina | Selina’s Inspiration
What a gorgeous Kitchen darling, you did a wonderful job!
xoxo
Lovely
http://www.mynameislovely.com
Omg i love your kitchen!! Amazing post
jadieegosh
It’s so much fun to do some DIY in the house! Your kitchen looks so fab and I’m loving the colour.
xx Simone
Little Glittery Box
You did such a great job ! Love these pictures !
Have a lovely day !
Nina
xox
http://www.thecrispylipstick.com/blog
Okay, totally off topic but I kinda need your earrings!!! I’m obsessed!!!
Natalie
http://weandno.com
Your kitchen and island looks amazing! I really love the color!!
http://www.rdsobsessions.com
What a beautiful result V! Love the new color, so good with an energizing pop! Xx
http://www.thefashionfolks.com
I love these types of posts, I do have a thing for cool looking kitchens!
https://youraverageguystyle.com/
Your kitchen looks sooo lovely and inviting! Love it dear!
Jessica | notjessfashion.com
Your kitchen looks lovely, I love the colors.
http://innapishtoy.com/
Great work. We are really grateful for your blog post. Thank you.
Nahid | https://bestclicknow.com/best-hair-serum-frizzy-hair/